
15 Jan 4 Effective Shoulder Press Variations
Construct some serious strength with these four variations of the shoulder press.
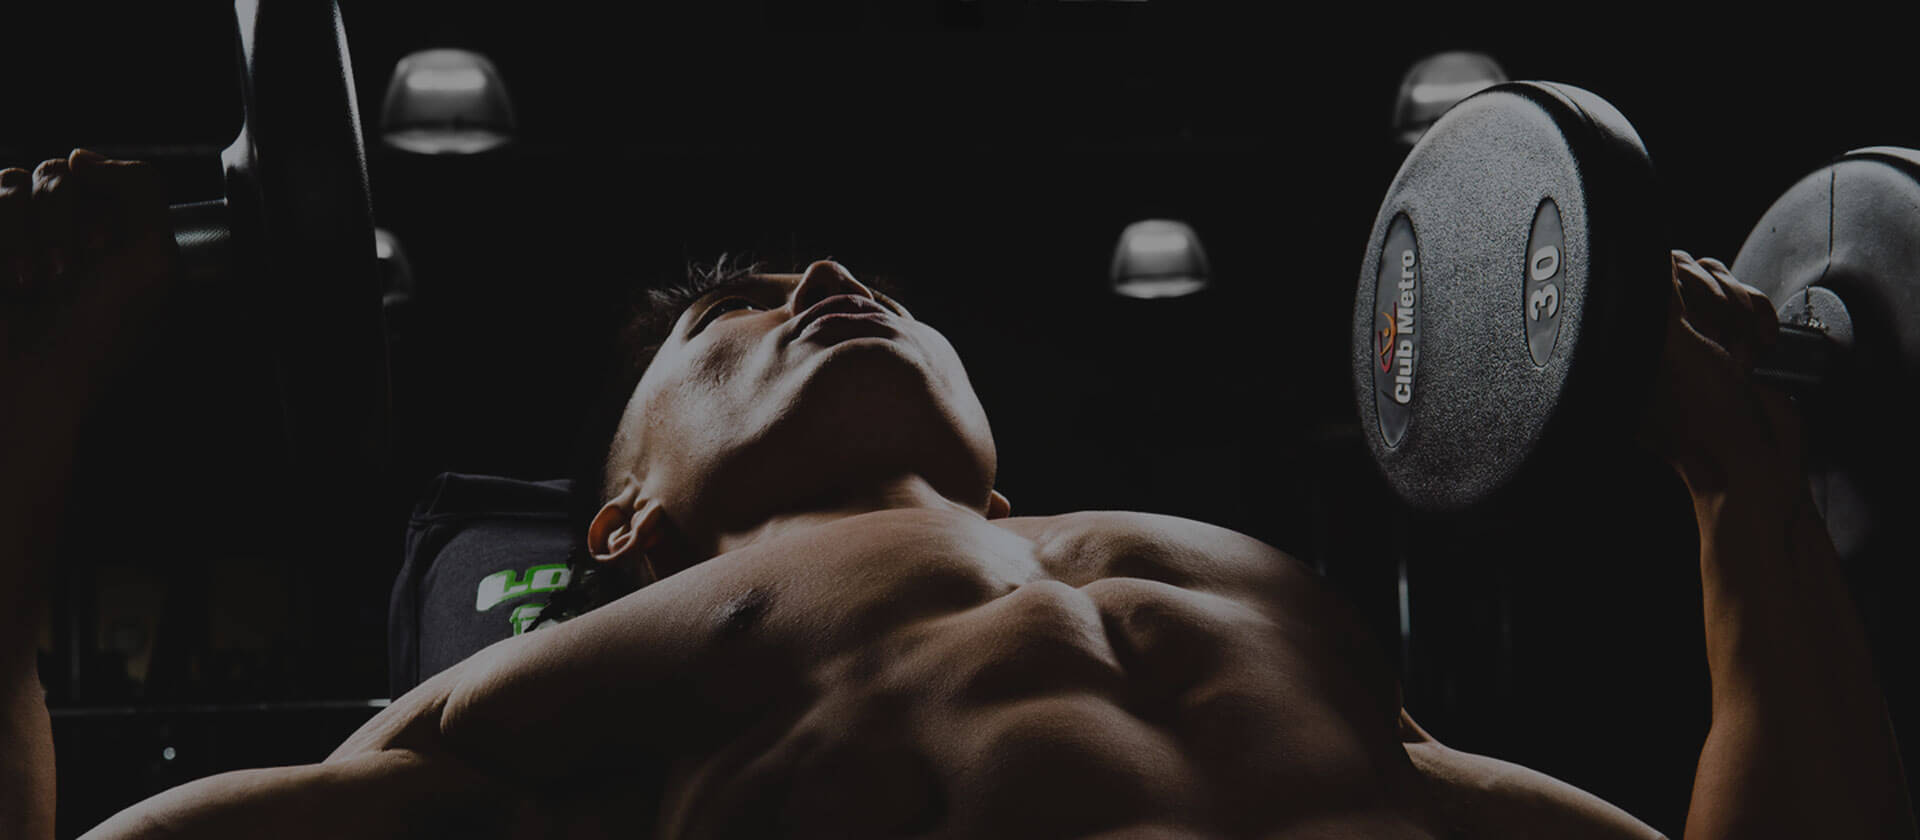
For upper-body strength and athletic power, few moves rival the overhead press. From a functional standpoint, pressing weight overhead requires stability from floor to core while still requiring adequate shoulder movement in all directions. Overhead presses are also a staple for building the shapely curves of the anterior and medial deltoids, and if you can hook-shot your carry-on into the overhead bin with one arm, that’s a win for everyone.

Level 1: Dumbbell Military Press
This OG press is used more in bodybuilding circles than it is in the military, but it got its title because of its militaristically strict form prescription, which prevents the use of momentum. This basic-level move helps develop the control and strength necessary to move heavy weight without using the lower body for assistance.
Stand with your feet hip-width apart and hold a pair of dumbbells with your elbows bent 90 degrees and your arms lifted to shoulder height, palms forward. Extend your arms to press the weights overhead as well as inward, so at full extension, the inner heads of the dumbbells touch together lightly. Slowly lower back to the start.
Reduce the role of your core by sitting on a bench with your feet flat on the floor.
Troubleshooting
- If your back arches or your rib cage flares out as you press the weights overhead, you’re probably using too much weight. This could shift the emphasis from your shoulders to your upper pecs and may stress your lower back. Reduce your weight and actively contract your abs to protect your spine.
- If you can’t extend your arms straight up overhead without shrugging or bending your elbows, you’re putting your neck and shoulders at risk. Imagine putting your shoulder blades into your back pockets (scapular depression) to position your shoulders for optimal stability.
- If the dumbbells move forward, back or to either side (as opposed to straight up) as you press them overhead, do a wrist check: Make sure they are locked and straight as if you’re punching the ceiling.

Level 2: Single-Arm Kettlebell Press
Going from two arms to one demands greater trunk stability and can help identify muscle imbalances between your right and left sides. Using a kettlebell makes this unilateral press slightly different because you’re starting from a racked position with the weight at chest level, corkscrewing your arm as you extend to engage your muscles in a new way.
Stand with your feet hip-width apart and hold a kettlebell close to your chest with your elbow down and the kettlebell resting on the back of your arm. Your wrist should be in line with your forearm, as if driving a punch through the kettlebell handle. Brace your core and extend your arm overhead, opening your elbow to the side and corkscrewing your wrist as you press up to full extension. You should finish with your elbow by your ear, palm forward, and should be able to draw a straight line from your hand through your elbow and shoulder to your hip. Slowly return to the start.
Troubleshooting
- If your arm feels wobbly as you extend it overhead, check your grip: The handle should rest low across your palm over the “meaty” part of your thumb to keep its center of gravity directly over your wrist. If your grip is correct, you should be able to open your hand and spread out your fingers.
- As you press the weight overhead, you might lean to one side; this is fine. Because only one side of your body is weighted, you anatomically have to shift your rib cage to the other side in order to move the weight overhead. Still, try to limit any extra movement by engaging your core, and imagine squeezing a lemon under your armpit to engage your lats and other stabilizing muscles.


Level 3: Dive-Bomber Push-Up
Though it may seem like a regression to go from a unilateral press to a bodyweight push-up, this move actually takes a great deal of strength and control, and it’s a great way to develop pressing endurance because your shoulders are under tension the entire time.
Get into plank with your hands underneath your shoulders and spread your feet hip-width apart. Lift your hips toward the sky and drop your chest between your arms to come into Downward-Facing Dog. Keeping your elbows in close to your sides, slide forward by lowering your head, then shoulders and then belly toward the ground in a scooping motion. Extend your arms to finish in Upward-Facing Dog, then reverse the move — lowering your belly, then chest and then head — and lifting your hips to return to the start.
Troubleshooting
- Don’t let your elbows flare out to the sides. This can pinch a rotator cuff tendon and could lead to impingement syndrome or could even cause a tear. Consciously keep your elbows in close to your body, and don’t allow them to angle out more than 45 degrees.
- If you have issues reversing the move, simply lift your hips straight back up into Downward-Facing Dog instead of trying to worm and wiggle your way backward, which could strain your shoulders or back. Slow down the first half of the move to build strength and ingrain the movement pattern for a few weeks, then try to shift it into reverse again and see how you do.

Level 4: Barbell Push Press
This powerful move trains your whole body to generate upward momentum without sacrificing form or control, and it’s the ideal training transition between a strict press and the finishing phase of a clean-and-jerk.
Position a barbell across your front delts and clavicle and hold the bar outside your shoulders with your elbows lifted underneath. Keep your back straight and your heels glued to the floor as you quickly “dip” — i.e., bend your knees — then explosively extend your legs and arms to drive the bar straight up overhead. Lower slowly to the start, bending your knees again to catch the bar across your upper chest as it returns.
Troubleshooting
- If you are being pulled forward as you execute the move, check your elbows: At the start, they should be flipped underneath the bar and lifted so they are nearly parallel with the floor. This creates a direct line of upward movement and will allow you to press more weight while preventing injury.
- If your heels peel off the floor or you come up onto your toes at any time during the move, you’re probably initiating the dip by pushing your glutes backward. This shifts your center of gravity and will decrease your power potential and increase your risk for injury. Keep your heels anchored to the ground and move your knees forward, dropping your glutes straight down for your dip to generate the most upward force possible.
- If you’re trying to “muscle” the bar up at the end of the movement, it means you’ve lost momentum. Because all your power comes from the floor, press down forcefully into the ground to initiate your upward thrust, and imagine it traveling through your hips, up your spine, through your shoulders and out your knuckles.
Powered by WPeMatico
Sorry, the comment form is closed at this time.