
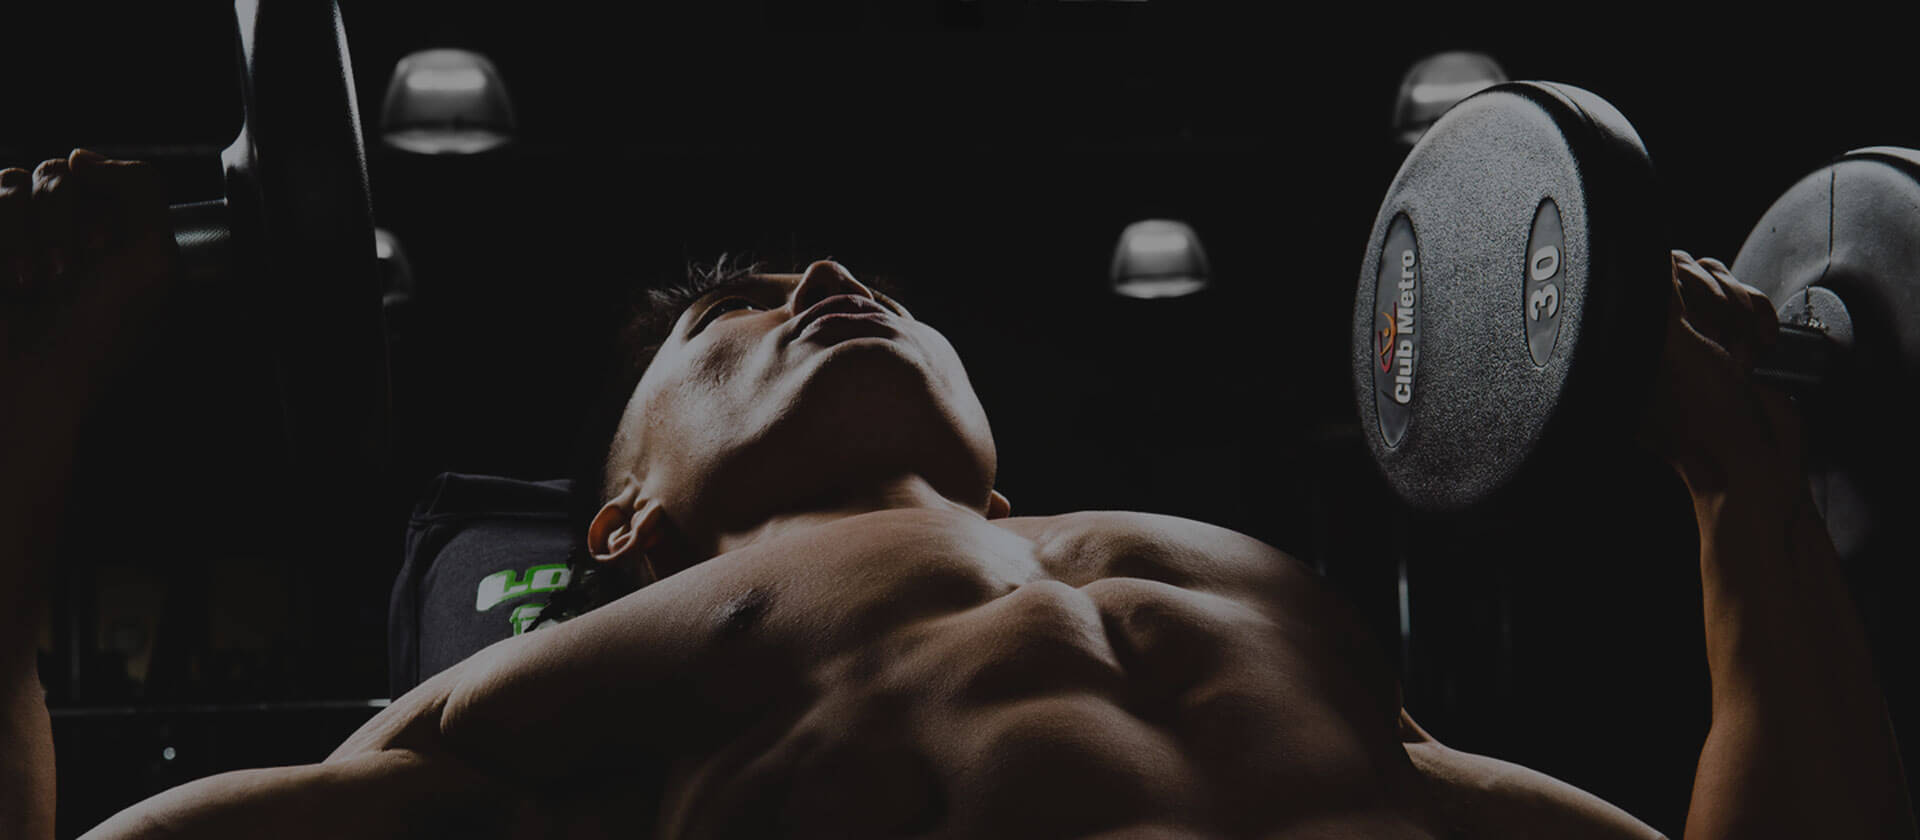
29 Nov Six Common Training Mistakes and How to Fix Them
Making a few simple changes to these six popular strength-training moves could be all you need to get great results.
When you first started weight training, you probably paid close attention to form, noting how to sit, stand, hold a weight, angle your arms, and various other bits of positioning minutia that made an exercise more effective while keeping you safe and injury-free. However, who’s to say that you learned proper form to begin with? And if you did indeed etch exact form into your gray matter, is there still a way you can make a move more effective?
Here, we analyze the biomechanics of six popular strength-training exercises, outing common mistakes, offering simple corrections, and even divulging some insider tweaks that can affect your training efficacy for the better. So tap into your inner-science geek and read on — you’ve got nothing to lose and muscle to gain.

LOWER BACK: HYPEREXTENSION
Angled Bench vs. GHD (Glute-Ham Developer)
While counterintuitive, the goal with strength training is to put your muscles at a mechanical disadvantage, causing them to work harder while keeping in the path of motion that allows for the most powerful contraction. This edict is very evident with a hip extension, during which your hip goes from a bent position to a straight one, such as with a stiff-legged deadlift. With this move, you are weakest mechanically when bent over and are strongest when fully upright.
This makes logical sense: When you’re standing, gravity pulls you straight down, and there is no resistance placed on your erector muscles. But as you bend forward, gravity pulls your torso down and forward, increasing the stress on your back exponentially. And since with a stiff-legged deadlift the resistance is heaviest when you’re in your weakest position — bent over — it can cause back issues if you’re not careful.
A more effective hip-extension move, then, is a back hyperextension, during which you literally and figuratively flip the equation upside down. Though you’ll start in your weakest position — bent — your torso is vertical to the floor so there is virtually no strain or resistance on your lower back. You will experience the greatest amount of work as you raise your torso parallel to the floor into your strongest position, straight.
Though an angled bench is popular in big-chain gyms, it does not put your body in the proper biomechanical position because you’re at most angled 45 degrees to the floor when on the equipment, and the strain on your lower back does not net zero in your bent position. A better choice is the glute-hamstring developer, or GHD, which inverts your torso perpendicularly while your legs remain parallel and you break at the hips at a 90-degree angle.
GHD Back Hyperextension
Adjust the foot rollers so your bellybutton is at the top edge of the hip pad, then hook your feet between the foot rollers and cross your arms over your chest. At the start, your entire body should be parallel to the floor, spine straight, glutes contracted. Beginning with your head, slowly roll down one vertebra at a time until your torso is vertical to the floor, then roll back up starting with your lumbar spine and working your way back up to your head until you’re parallel again.

LEGS: SQUAT
Finding Your Foot Position
You’ve likely been told to stay as erect as possible when squatting to properly work your muscles and protect your spine, but as much as you try, as a human you’ll still have a tendency to lean forward. Though you might think the barbell is to blame — especially if you position it lower across your traps in a “powerlifting” position, shifting your torso forward — it’s actually the position of your feet that makes or breaks your squatting potential.
Correct foot positioning is not a one-size-fits-all formula, though, because a lot depends on individual thigh and torso length as well as hip flexibility. To determine your personalized stance, perform this test:
The Sit-to-Stand Test
Sit on the edge of a bench with your arms at your sides and your feet on the floor inside hip-width apart and angled out slightly in a comfortable position. Without using your arms to help, try to stand up. If you have to lean pretty far forward in order to get up off the bench, it means your feet are too close together. Sit back down and open your feet an inch wider and repeat. (As you widen your stance, your feet will naturally angle outward a little more; go with it.) Continue this process until you are able to keep your torso almost perfectly erect as you stand.

ABS: REVERSE CRUNCH
Successfully Sideline the Hip Flexors
To work the lower abdominals, most people sit on the floor or on a bench and perform knee-ins, or hang from a pull-up bar and do hanging knee raises. But in truth, neither of these moves is particularly effective at working the abdominals. In fact, your abs are only contracting isometrically while your hip flexors do the majority of the concentric work.
To effectively train your abdominals, you have to put your spine in flexion, for example, bend forward, as with a standard crunch: Here, your hips and lower spine remain stationary as you shorten the distance between your ribs and your hipbones by lifting your head, shoulders and torso upward and forward. To best target the lower part of your abdominal region, reverse a regular crunch and shorten the distance from your hips to your rib cage by pulling your lower body and hips up toward your shoulders as your upper body remains stationary.
Reverse Crunch
Lie on the floor and reach your arms overhead to grasp a stationary object behind you, such as the leg of a rig or a machine. Bend your knees and lift them over your hips so they make a 90-degree angle and press your lower back into the floor. Then curl your lower body up toward your shoulders by peeling your spine off the floor one vertebra at a time, starting with your tailbone and working your way upward to about your midback. Pause, slowly lower almost to the start and then repeat right away.

SHOULDERS: DUMBBELL LATERAL RAISE
Unlearn This Popular Directive
The three deltoid muscles always work in concert to move your arms and shoulders, and isolating one without engaging the others is impossible. While you can emphasize one delt head over the others with a little tweaking, the popular instructions you’ve probably heard are not the most effective for isolating your medial head.
Time for a little physics: The resistance felt during an exercise increases as the distance from the weight to the moving joint increases. Therefore, to get the most out of your medial delts, you should always do your standing side lateral raises with your arms straight, not bent, as is usually directed. Additionally, do not turn your thumbs down at the top of a rep when your arms are parallel to the floor: Internal shoulder rotation is controlled by your anterior (front) deltoid, so when you rotate your arms at the top, you are detracting from the work done by the medial delt. Finally, avoid standing up completely straight, which can lead to cheating by leaning back. Instead, use an adjustable bench and lean into it just a little to best target your medial delts.
Bench-Assisted Dumbbell Lateral Raise
Adjust an upright bench so the seat back is just slightly off from vertical, about 85 degrees or so. Straddle the seat facing backward and hold a set of dumbbells at your sides, palms facing inward. Lean forward slightly while keeping your back straight and your core tight so your belly and hips are supported by the seat pad. Keeping your arms and wrists straight and locked, lift the weights up and to the sides until your arms are parallel to the floor. Pause briefly at the top, then slowly lower to the start. Note: Your arms will track forward slightly as you raise them; this is natural.

BACK: DUMBBELL ROW
Supported One-Arm Row vs. Standing Two-Arm Retraction Row
Any kind of back row basically works the same primary muscles — the latissimus dorsi, rhomboids, trapezius and teres major — but changing the angle of pull and your arm position can shift the emphasis of the move. So depending on which part of the back you want to train should determine the kind of row you choose.
When performing a row with one arm, you have a greater range of motion and your elbow stays closer to your side while your shoulder blade turns outward to a small degree, emphasizing the lats and teres major. With a two-arm retraction row, you have a slightly shortened range of motion, and you pull the shoulder blades backward and inward to move the weight, incorporating more of the rhomboids, rear delts and trapezius muscles.
Supported One-Arm Row
Place one knee and the same-side hand on a flat bench and hold a weight in your other hand, palm facing inward, arm straight, spine and head aligned and neutral. Begin with the weight at a full hang, getting a good stretch in your lats without twisting your spine, then drive your elbow straight up, pulling the weight into the bottom of your rib cage. Pause briefly, then lower slowly to the start.

Standing Two-Arm Retraction Row
Hold a dumbbell in each hand with your palms facing rearward and stand with your feet shoulder-width apart, knees soft. Hinge at your hips and fold forward with a straight back until your torso is about 45 degrees to the floor, and allow your arms to hang straight down. Drive your elbows up and to the sides like a scarecrow until your upper arms are parallel to the floor. Squeeze your shoulder blades together at the top, then lower back to the start under control.

OBLIQUES: OBLIQUE TWIST
Standing vs. Decline
You may have seen people standing upright and balancing a wooden dowel or PVC pipe across their shoulders while twisting side to side in an attempt to work their obliques. While this movement is great for warming up your spine and core, it does little to work your obliques since there is virtually no resistance involved.
To best work those waist-cinching muscles while creating overall core and abdominal definition, simply relocate this movement to the decline bench. Here, gravity becomes your resistance as the weight of your body challenges your obliques and core to perform. You also can hold a weight plate, medicine ball or small dumbbell at your chest to increase the resistance even more.
Decline Oblique Twist
Secure your ankles underneath the foot rollers and sit up tall. Place your fingertips behind your head and open your elbows to the sides. Keep your back straight and lean away from your feet until you make a 45-degree angle to the floor. Hold here as you twist slowly side to side, keeping your elbows flared and your chest open.
Powered by WPeMatico
Sorry, the comment form is closed at this time.